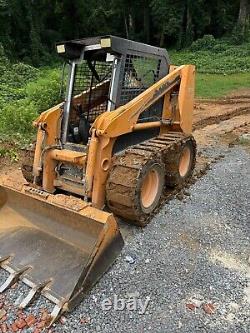
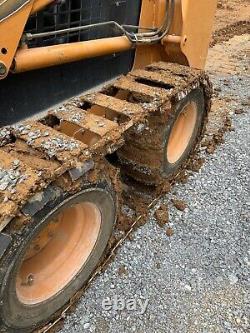
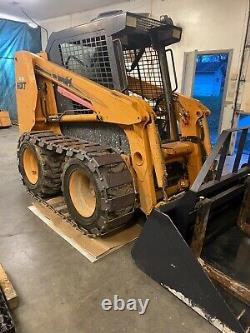
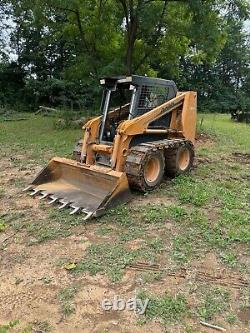
Skid Steer Over Tire Tracks Fits Bobcat, New Holland, CAT, Case, Deere 12x16.5


Installing our OTT (over the tire) tracks boost your machine's performance and increase working capabilities. MPC OTT tracks provide superior traction, floatation and increase stability, and give your machine the ability to work in wet, muddy terrain without sinking. Our OTT tracks are easy to install, and allow you to switch quickly between tire and tracked operation. Power thru wet or muddy terrain. Quickly switch between tire and track operation. Adjustable and Heavy Duty construction. Optional grousers, pads or traction studs. Built in-house in the USA. Our OTT tracks are adjustable, and will fit just about any machine with 12 wide tires.
We recommend at least 4 of clearance between the inside of the tire and the machine / fender. If necessary, you may flip your wheels around ("inside" now facing out) to increase clearance. Worn tires may slip inside the tracks. Installing bolts thru every 3.
Trim the bolts even with the nuts to avoid tire damage. For traction in snow or ice, add 5/16 x 3/4 long carriage bolts as traction studs.
Our wide track cleats have more surface area to distribute weight and provide superior floatation in these conditions. Tracks will tear up concrete and asphalt surfaces. To avoid this, add rubber pads to the cleats.
This will be a DIY solution, as we do not offer rubber pads at this time. Assemble the cleats and links using the provided hardware -the links go on the outside of the cleats. DO NOT overtighten the nuts, you should see only about 1 - 2 threads thru the lock nut.
Lay the tracks out in line with the wheels of your machine, raise the loader arm and use the safety lockout. Drive the machine onto the track, having a helper guide the tracks over the rear tires as you go. Once you are in the middle of the tracks, fold the front of the track up and over the front tire. Use a ratchet strap over the top of the tires to begin tensioning the tracks, and lower the loader arm back down. Lift the front tires (using the bucket or a jack) and continue tensioning.
NOTE: Use jack stands or appropriate cribbing to support front of machine. Use a chain binder between the tires to continue applying tension. Use the appropriate link (short, long or standard) to attach the tracks.Initial installation will seem fairly tight, however the tracks will stretch within the first hour of operation and will need re-tensioned periodically. We recommend at least 1 of droop between the tires after break-in. Use a level or straight edge across the tires to check tension.
Cut a 2x4 to length and lay it across the tires to help with tensioning using ratchet straps.
